

Hey there! As a supplier of hex nut screws, I've seen firsthand how important it is to install them correctly. A proper installation not only ensures the stability and safety of your project but also extends the lifespan of the components. In this blog, I'll walk you through the steps of installing a hex nut screw correctly, so let's get started!
Step 1: Gather Your Tools and Materials
Before you begin, make sure you have all the necessary tools and materials. You'll need a hex nut screw, of course, and depending on the type of project, you might also need a wrench, a screwdriver, a drill, and some lubricant. If you're unsure which type of hex nut screw is right for your project, check out our Long Hex Nut, Capnuts, or Barrel Nut options.
Step 2: Prepare the Surface
The surface where you'll be installing the hex nut screw needs to be clean and free of debris. Use a wire brush or sandpaper to remove any rust, paint, or dirt. If the surface is uneven, you might need to use a file or grinder to smooth it out. This will ensure a good fit between the screw and the surface, preventing any wobbling or loosening over time.
Step 3: Choose the Right Size and Type of Hex Nut Screw
Selecting the right size and type of hex nut screw is crucial for a successful installation. The size of the screw should match the hole in the material you're working with. You can measure the diameter of the hole using a caliper or a drill bit gauge. The type of screw will depend on the application. For example, if you're working with a soft material like wood, you might want to use a self-tapping screw. If you're working with metal, a machine screw might be a better choice.
Step 4: Insert the Screw
Once you've chosen the right screw, it's time to insert it into the hole. If you're using a drill, make sure the drill bit is the same size as the screw. Insert the drill bit into the hole and start drilling slowly. Once the hole is drilled, remove the drill bit and insert the screw into the hole. If you're not using a drill, you can use a screwdriver to turn the screw into the hole. Make sure the screw is straight and perpendicular to the surface.
Step 5: Tighten the Nut
After the screw is inserted, it's time to tighten the nut. Use a wrench to turn the nut clockwise until it's snug against the surface. Be careful not to over-tighten the nut, as this can damage the screw or the material. If you're using a torque wrench, you can set it to the recommended torque value for the screw. This will ensure that the nut is tightened to the correct level, preventing any under or over-tightening.
Step 6: Check the Installation
Once the nut is tightened, it's important to check the installation to make sure everything is secure. Try to wiggle the screw or the nut to see if there's any movement. If there is, you might need to tighten the nut a little more. You can also use a torque wrench to check the torque value again to make sure it's still within the recommended range.
Step 7: Apply Lubricant (Optional)
Applying a lubricant to the screw and nut can help prevent corrosion and make it easier to remove the screw in the future. You can use a silicone-based lubricant or a grease. Apply a small amount of lubricant to the threads of the screw and the nut before tightening them.
Step 8: Maintenance
To ensure the longevity of your hex nut screw installation, it's important to perform regular maintenance. Check the screws and nuts periodically to make sure they're still tight. If you notice any loosening, tighten them immediately. You can also clean the screws and nuts with a wire brush or a cloth to remove any dirt or debris.
Common Mistakes to Avoid
- Over-tightening: As mentioned earlier, over-tightening the nut can damage the screw or the material. It can also cause the threads to strip, making it difficult to remove the screw in the future.
- Under-tightening: Under-tightening the nut can cause the screw to loosen over time, leading to instability and potential safety hazards.
- Using the Wrong Size or Type of Screw: Using the wrong size or type of screw can result in a poor fit, making the installation less secure.
- Not Cleaning the Surface: Failing to clean the surface before installation can prevent the screw from making a good connection with the material, leading to loosening or corrosion.
Conclusion
Installing a hex nut screw correctly is a simple process, but it requires attention to detail. By following these steps and avoiding common mistakes, you can ensure a secure and long-lasting installation. If you have any questions or need help choosing the right hex nut screw for your project, don't hesitate to reach out. We're here to help you with all your hex nut screw needs. Whether you're a DIY enthusiast or a professional contractor, we have the products and expertise to get the job done right.

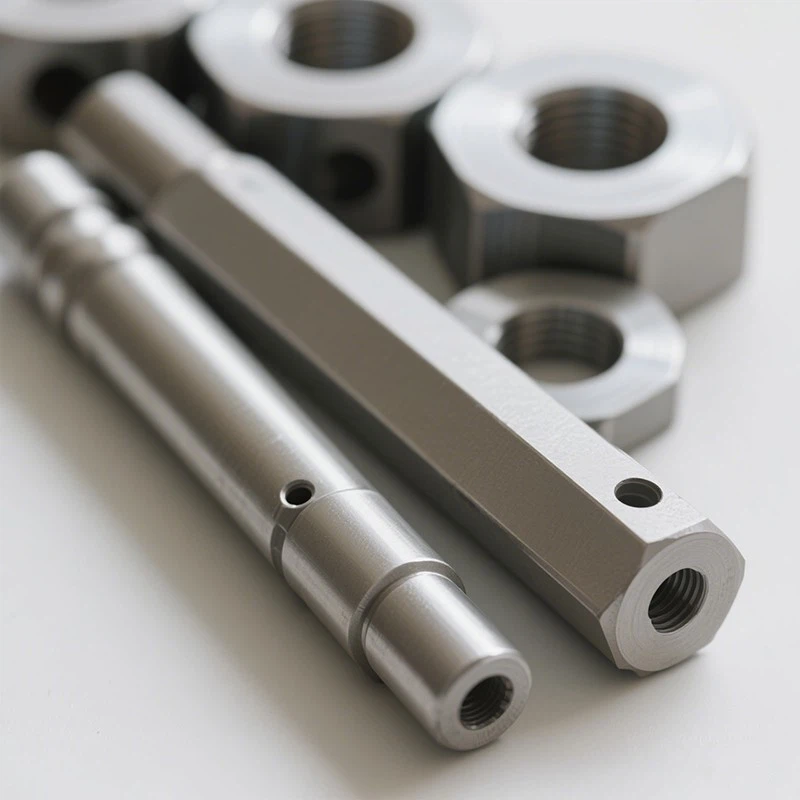
If you're interested in purchasing hex nut screws or have any questions about our products, feel free to contact us for a purchase negotiation. We offer a wide range of high-quality hex nut screws at competitive prices.
References
- "Fasteners 101: A Guide to Understanding and Selecting the Right Fasteners." Fastener Engineering, 2023.
- "How to Install Screws and Nuts." DIY Network, 2022.